
Alerts
The Alerts page is where you define how Laritor should notify your team when important issues happen in your application. You can enable or disable alerts for specific issue types, choose the delivery channels that should be used by default, and override those channels for individual environments such as production, staging, or preview.
Navigation: Access Alerts by clicking the Alerts link in the main navigation menu.
1. What the Alerts Page Does
Section titled “1. What the Alerts Page Does”Laritor separates alerting into two concerns:
- What should trigger an alert
- Example: exceptions, failed checks, or other application issues detected by Laritor.
- Where the alert should be delivered
- Example: email lists, Slack, Microsoft Teams, webhook, Discord, Telegram, GitHub, or Linear.
This allows you to keep a single alert policy for an application while still routing notifications differently depending on the environment or destination.
For example:
- Enable exception alerts so engineers are notified when a new exception is captured.
- Send
productionalerts to Slack, email lists, and Linear. - Route
stagingalerts only to a Discord channel or a webhook endpoint. - Create GitHub issues only for
production, while leaving GitHub disabled elsewhere.
2. Supported Alert Channels
Section titled “2. Supported Alert Channels”Laritor currently supports the following alert channels from the Alerts page:
| Channel | Typical use |
|---|---|
| Email Lists | Notify one or more mailing lists such as [email protected] or [email protected]. |
| Slack | Send alerts into Slack channels for fast team visibility and triage. |
| Microsoft Teams | Deliver alerts into Teams channels through configured incoming webhooks. |
| Webhook | Send structured POST requests to your own incident platform, automation service, or custom API. |
| Discord | Route alerts to Discord channels for community or internal engineering workflows. |
| Telegram | Send alerts to Telegram groups using a bot token configured in Settings. |
| GitHub | Create GitHub issues directly from alerts so incidents become tracked engineering work. |
| Linear | Create Linear issues automatically and optionally route them into a specific team or project. |
Before a channel can be selected on the Alerts page, it must first be configured in Settings or Settings > Integrations, depending on the channel type.
Related integration guides:
3. Configuring Alert Triggers
Section titled “3. Configuring Alert Triggers”Each alertable issue type is represented as a toggle or selectable alert rule on the Alerts page. Enabling a rule tells Laritor to emit notifications when that class of problem is detected for the application.
3.1 Example: Exception Alerts
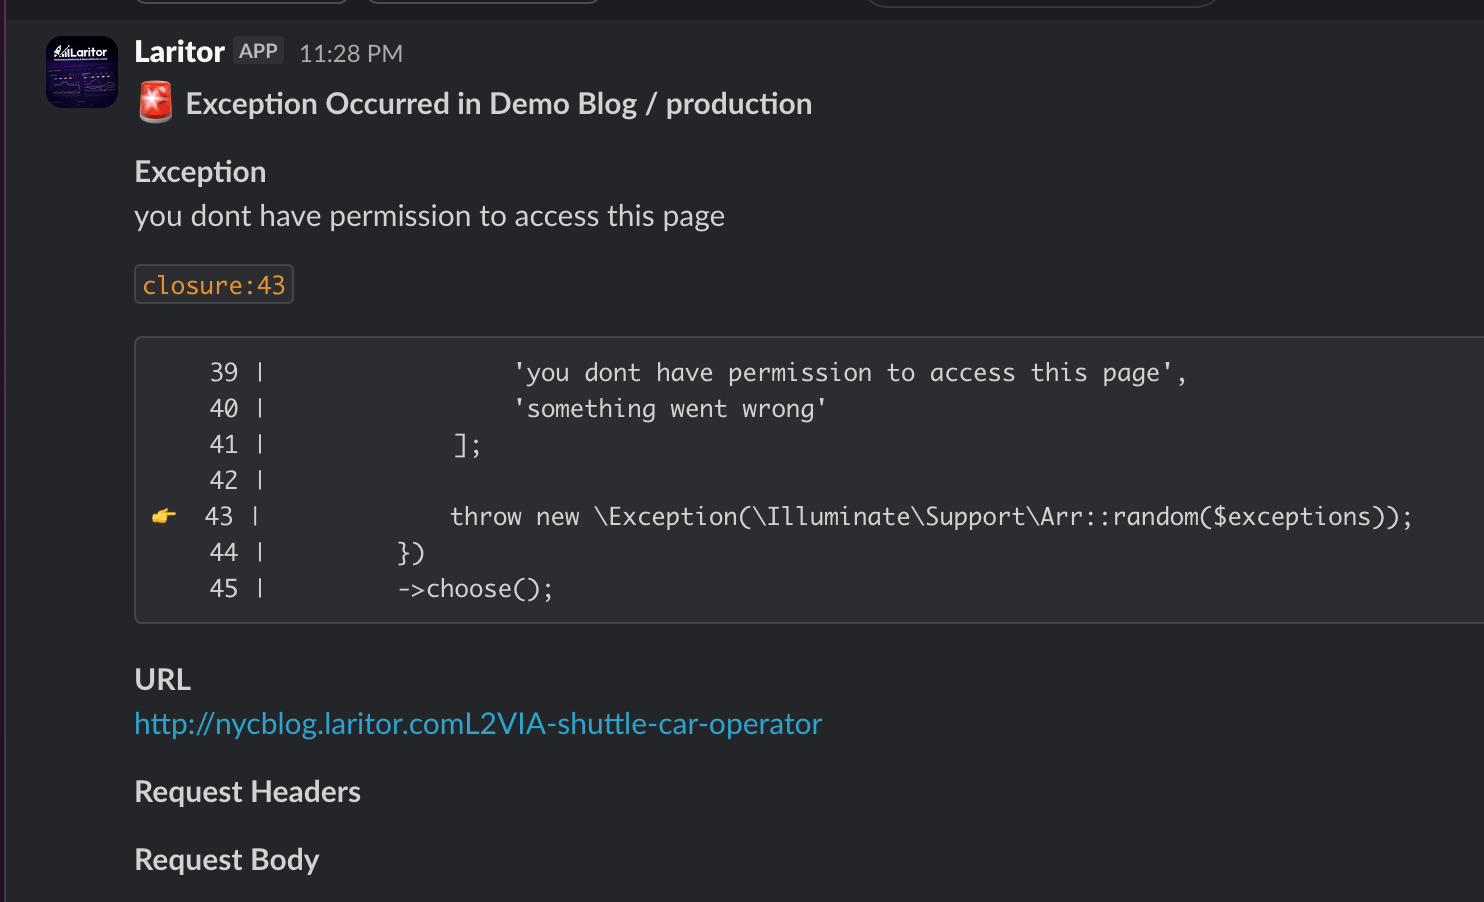
Section titled “3.1 Example: Exception Alerts”One common configuration is enabling alerts for exceptions.
When exception alerts are turned on:
- Laritor monitors captured exceptions for the application.
- When an exception occurs, Laritor generates an alert event.
- That event is delivered through the channels currently configured for the application or environment.
This is useful for:
- Catching new production regressions quickly
- Notifying the team about recurring failures
- Opening a GitHub or Linear issue immediately when an exception first appears
- Sending structured exception payloads to internal tooling by webhook
Depending on the alert type, Laritor can include context such as:
- Application and environment
- Exception message and class
- File and line number
- Occurrence count or timestamps
- Deep links back to the relevant Laritor resource page
Tip: Enable exception alerts first for
production, then add lower-noise rules for non-production environments only when those alerts are actionable.
4. Default Channel Configuration
Section titled “4. Default Channel Configuration”The default channel configuration is the baseline routing Laritor uses for alerts across the application.
Typical flow:
- Open Alerts from the main navigation menu.
- Enable the issue types you want to monitor.
- Select one or more default channels for the application.
- Save the configuration.
If no environment-specific override exists, Laritor uses the default channels automatically.
4.1 Why Default Channels Matter
Section titled “4.1 Why Default Channels Matter”Default channels are useful when most environments should behave the same way. For example:
- Send all alert types to the main engineering Slack channel
- Always notify the primary email distribution list
- Always create a Linear issue for production-grade failures
This keeps alert routing centralized and avoids repeating the same setup for every environment.
5. Environment-Specific Overrides
Section titled “5. Environment-Specific Overrides”Laritor also lets you override alert channels on a per-environment basis. This is important when different environments have different escalation paths or noise tolerance.
Common examples:
production- Send alerts to Slack, email, GitHub, and Linear
staging- Send alerts only to Discord, Telegram, or a webhook endpoint
localorpreview- Disable issue creation channels such as GitHub and Linear
5.1 Override Behavior
Section titled “5.1 Override Behavior”Environment-specific settings let you replace or customize the default routing for a single environment.
In practice, the evaluation model is:
- Laritor checks whether the current environment has an override.
- If an override exists, Laritor uses that environment-specific channel configuration.
- If no override exists, Laritor falls back to the default channel configuration.
This gives you a predictable routing strategy:
- Broad defaults for the whole application
- Targeted overrides only where needed
5.2 Typical Production Strategy
Section titled “5.2 Typical Production Strategy”A practical developer-focused setup often looks like this:
- Default
- Email list for broad visibility
- Slack for immediate team awareness
- Production override
- Slack
- Email list
- GitHub or Linear for tracked remediation
- Webhook for incident automation
- Staging override
- Discord, Telegram, or Slack only
- Preview override
- No ticket-creation channels
This reduces noisy issue creation while preserving fast notification in environments where developers still need signal.
6. Channel-Specific Notes
Section titled “6. Channel-Specific Notes”6.1 Email Lists
Section titled “6.1 Email Lists”Use email lists when alerts need to reach multiple recipients through a single reusable destination. Each list can contain multiple comma-separated addresses and can be reused across multiple alert configurations.
Best fit:
- On-call aliases
- Shared engineering inboxes
- Distribution lists for platform, backend, or support teams
6.2 Slack
Section titled “6.2 Slack”Slack is best for real-time team notification. It is usually the fastest way to make production failures visible to the people who can triage them immediately.
Best fit:
- Active incident channels
- Team-specific alert channels
- Lightweight operational visibility without creating tickets automatically
6.3 Microsoft Teams
Section titled “6.3 Microsoft Teams”Teams uses saved incoming webhooks. This is appropriate when your organization standardizes on Microsoft 365 and wants alerts delivered to existing Teams channels.
Best fit:
- Enterprise operational teams
- Shared incident rooms
- Notification flows that do not require OAuth-based workspace installation
6.4 Webhook
Section titled “6.4 Webhook”Webhook delivery is the most flexible option for developers because it lets you integrate Laritor with systems that are not supported natively.
Best fit:
- Incident automation
- Internal tooling
- Pager or escalation services
- Custom workflow engines
For payload details, see the Webhook integration guide.
6.5 Discord
Section titled “6.5 Discord”Discord is useful when your engineering or community workflow already relies on Discord channels for coordination.
Best fit:
- Small teams
- Startup operations channels
- Shared engineering/community monitoring rooms
6.6 Telegram
Section titled “6.6 Telegram”Telegram works well when your team wants alerts delivered into group chats using a bot-based setup instead of an OAuth workspace integration.
Best fit:
- Teams that already coordinate in Telegram
- Shared operational group chats
- Lightweight alert routing with a bot token and group selection
6.7 GitHub
Section titled “6.7 GitHub”GitHub is designed for turning alerts into issues in a selected repository. This is especially useful when teams manage operational work directly in GitHub.
Best fit:
- Repositories where bugs are triaged
- Ops workflows tied to pull requests and issues
- Teams that want production incidents represented as backlog items
6.8 Linear
Section titled “6.8 Linear”Linear is similar to GitHub issue creation, but optimized for teams already running engineering planning and incident follow-up inside Linear.
Best fit:
- Structured engineering planning
- Fast conversion of incidents into tracked work
- Teams or projects with explicit ownership
7. Recommended Setup Workflow
Section titled “7. Recommended Setup Workflow”For a clean rollout, configure alerts in this order:
- Set up every destination channel in Settings or Settings > Integrations.
- Open Alerts from the main navigation menu.
- Enable the issue types you want Laritor to monitor, starting with high-signal categories such as exceptions.
- Choose the default channels that should apply across the application.
- Add environment-specific overrides only where routing should differ from the default.
- Save the configuration.
- Trigger or wait for a real application event to validate the routing behavior.
This sequence avoids a common failure mode where a rule is enabled before the underlying destination channel has been configured.
8. Operational Recommendations
Section titled “8. Operational Recommendations”- Start with a narrow, high-signal rule set rather than enabling every possible alert immediately.
- Reserve issue-creation channels such as GitHub and Linear for environments where the alert is actionable.
- Use webhooks when you need automation, enrichment, deduplication, or routing into your own systems.
- Keep production routing explicit and conservative so critical alerts are not diluted by staging noise.
- Review environment overrides regularly to make sure staging or preview environments are not accidentally using production escalation paths.
9. Troubleshooting
Section titled “9. Troubleshooting”If alerts are not arriving as expected:
- Confirm the destination channel was configured successfully in Settings or Settings > Integrations.
- Verify the alert rule itself is enabled on the Alerts page.
- Check whether the current environment uses an override that differs from the default configuration.
- Make sure the event you are testing actually generates the alert type you enabled.
- For webhook-based destinations, verify the receiving endpoint accepts
POSTrequests and handles JSON payloads. - For GitHub and Linear, confirm the connected account still has access to the selected workspace, team, or repository.
The Alerts page gives developers a single place to define how incidents move from detection to notification. By combining issue toggles, reusable channel integrations, default routing, and environment-specific overrides, Laritor makes it possible to keep alerting strict in production, quiet in lower environments, and consistent across the entire application lifecycle.